Enrollment Notes
Enrollment Notes on the Enrollment Details page are designed to provide a record of the job seeker's participation in this specific enrollment. Notes specific to the job seeker's participation that are of a more sensitive nature than Job Seeker Notes on the Case Details page, can be recorded here, where they will be accessible only by partners with privileges to the specific program or enrollment. Staff must have the Enrollment Notes privilege to view or add notes, as well as the ability to edit or create a program.
- Enrollment Notes cannot be edited. The ability to delete Enrollment Notes is a role-based privilege.
Add Note
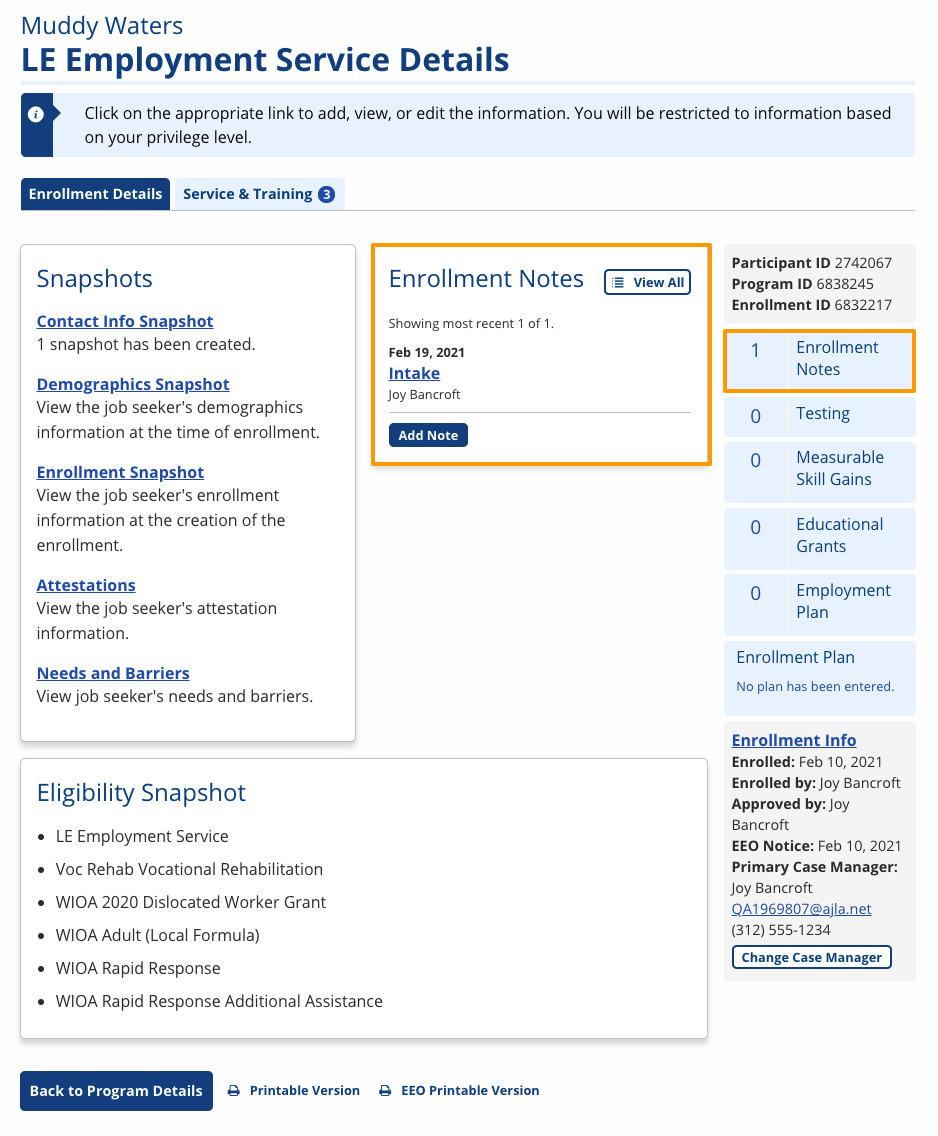
- Select the enrollment name link in the Program Registrations section of Case Details. The Enrollment Details page displays.
- Up to three note titles display in the Enrollment Notes section. You can select Add Note from this section, or select View All and add a note from the view of all notes.
- A counter with the total number of notes displays in the right-hand column. Select the counter to view all notes.
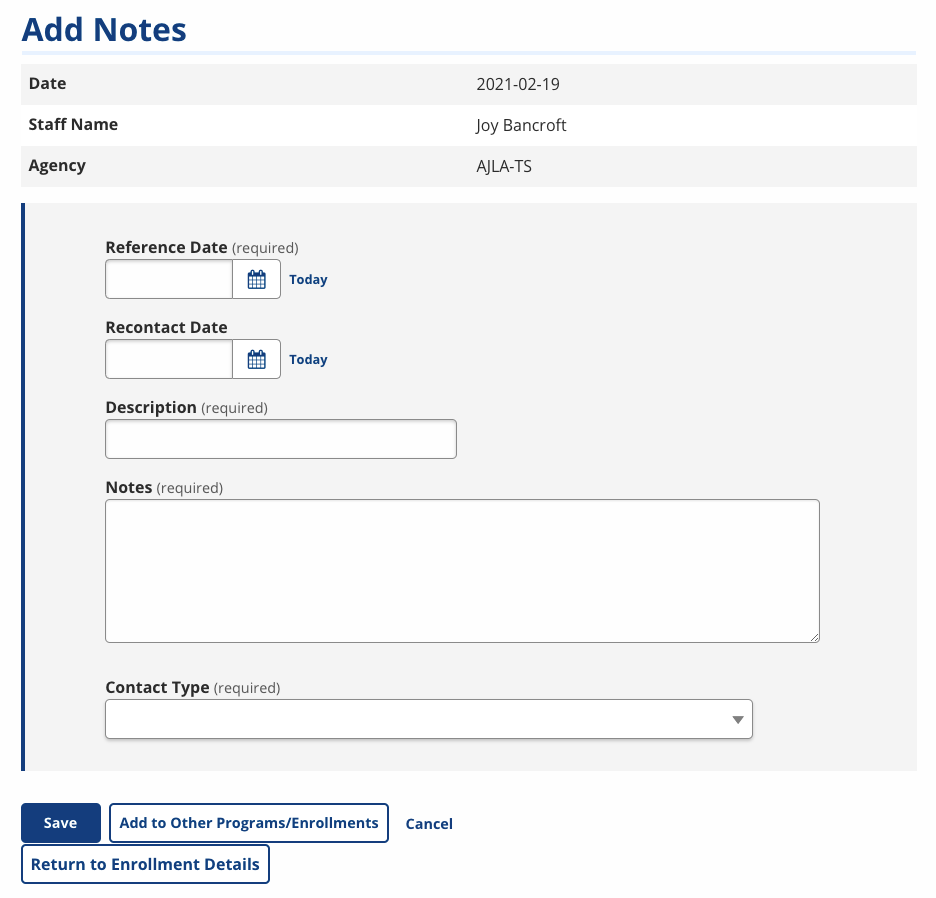
- Select Add Note. The Add Notes page displays.
- The date, your name, and your agency display by default. Provide the following information:
- Reference Date: Enter the day the contact was made, or select Today.
- Recontact Date: Enter a date to follow up with the job seeker, if desired.
- Description: Enter a brief, descriptive subject.
- Notes: Enter details about the contact.
- Contact Type: Select the method of contact.
- The methods of contact that display can be edited in Admin Tasks > ServiceLink > Contact Types. This feature is privilege-based.
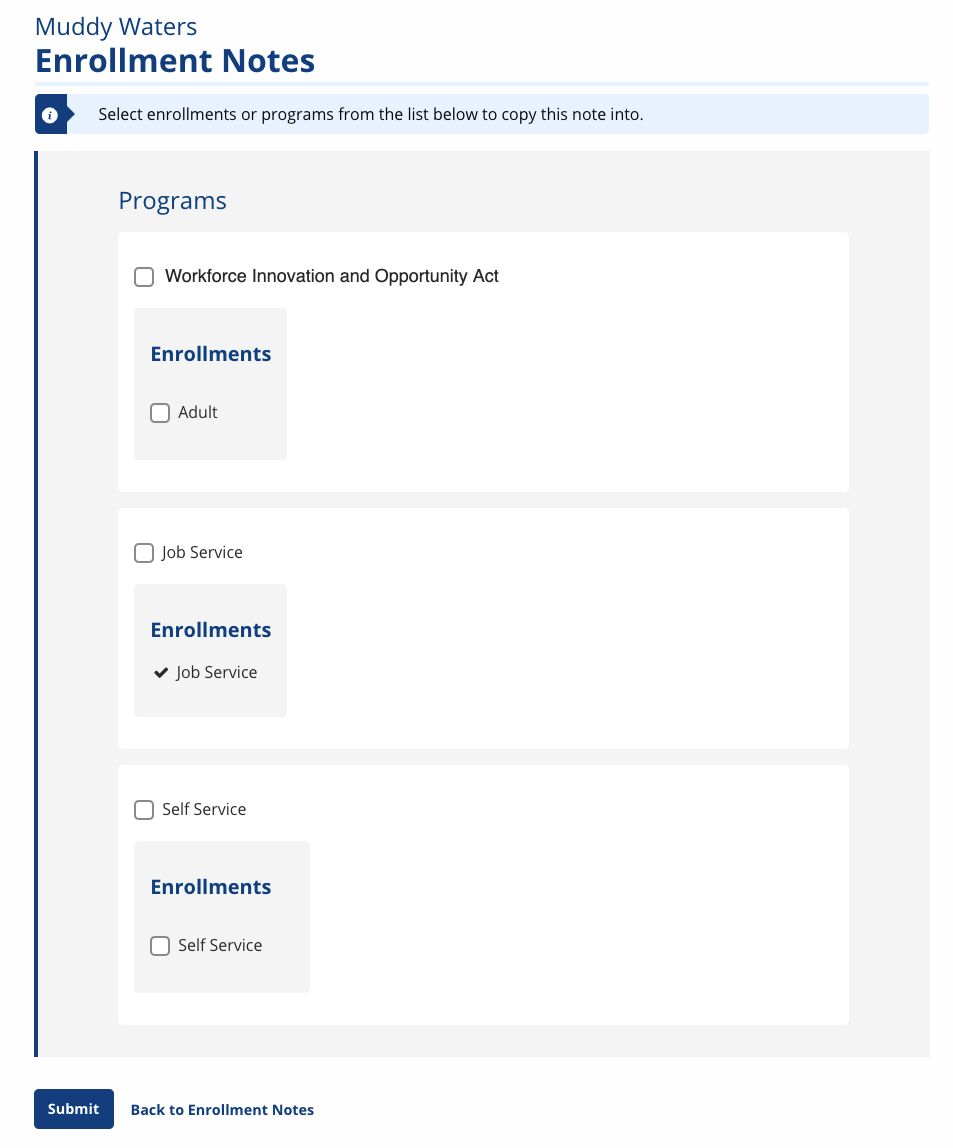
- If you wish to copy this note to other programs or enrollments, select Add to Other Programs/Enrollments. The Enrollment Notes (Copy Note) page displays.
- Select whether to copy your note to Program Notes or Enrollment Notes to any program and enrollment for which you have privileges. Select Submit. The [Enrollment Name] Enrollment Notes page displays.
- When finished entering a single note without copying it, select Save. The [Enrollment Name] Enrollment Notes page displays with the new entry.
View Notes
- Select the enrollment name link in the Program Registrations section of Case Details. The Enrollment Details page displays.
- Select the linked title of the note to display an individual note; otherwise, select View All in the Enrollment Notes section.
- You can also select the Enrollment Notes counter in the right-hand column; all notes will display.
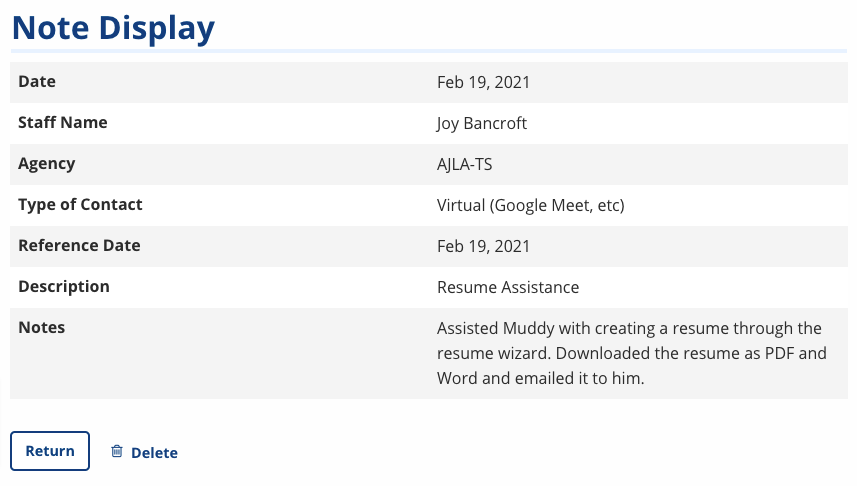
- The [Enrollment Name] Enrollment Notes page allows you to view any note and to print individual or all notes with signature lines.
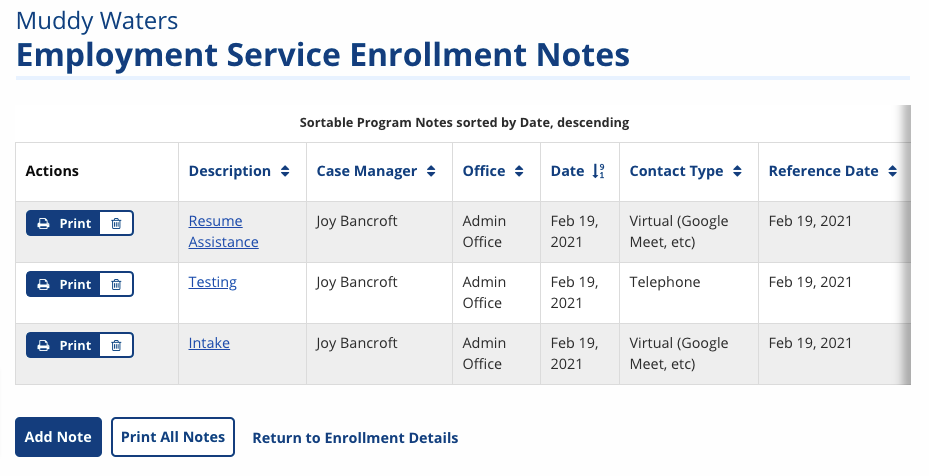
- Select the linked Description name to view an individual note.
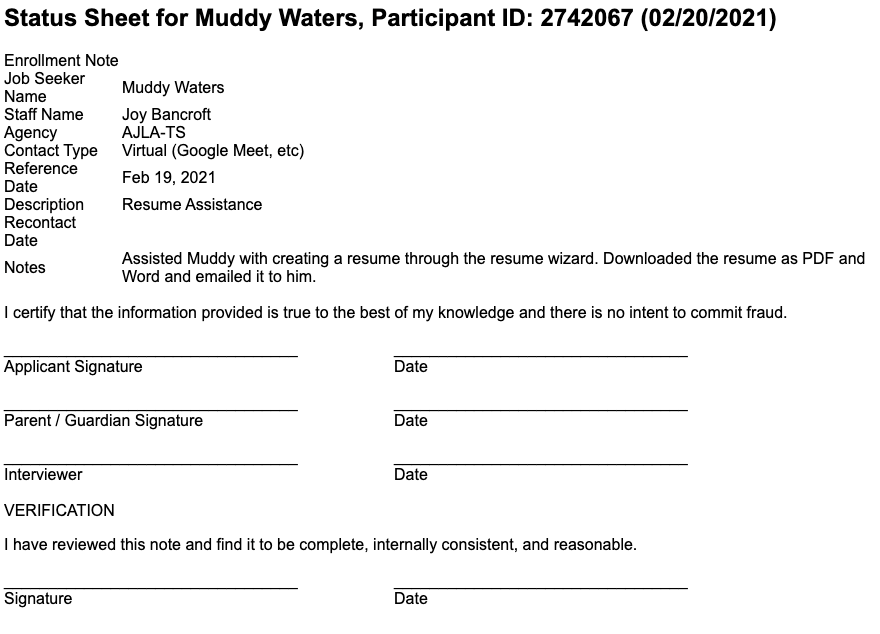
- Select Print to display the print view of an individual note.
- Select Print All Notes to display the print view of all notes.
- Select Delete to remove the note (role-based privilege).