Add Job Seeker Overview
This section provides high-level task-oriented instructions for determining if a job seeker is already in the system, adding a job seeker record, adding an enrollment, and adding a service to an enrollment.
Step 1: Job Seeker Search
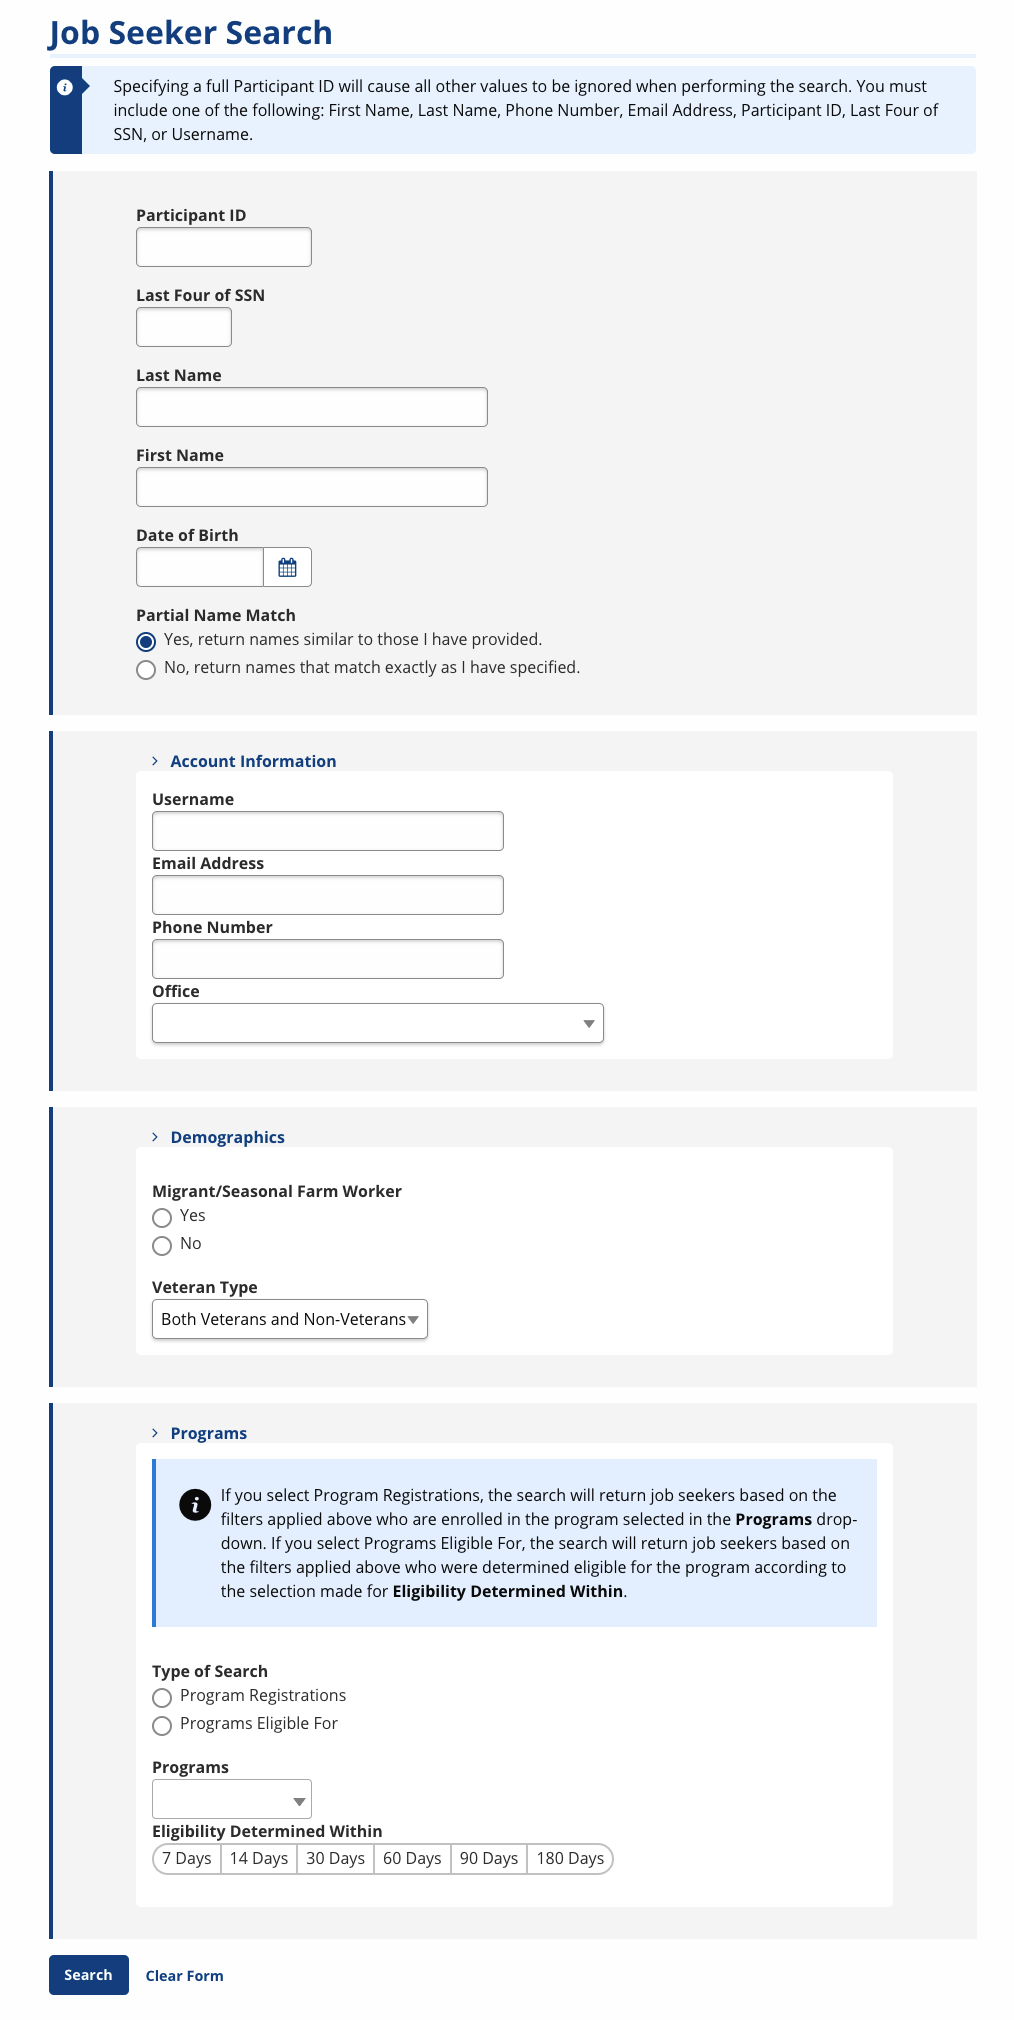
The following instructions describe conducting a Job Seeker Search to determine if they have an existing account in AJL. In the following example, the job seeker is not found.
- Navigate to Job Seeker Search. The Job Seeker Search page displays.

- Search for the job seeker by a variety of parameters.
- If you are confident the job seeker does not have an existing account, select the Add Job Seeker button. The Create Staff-Assisted Job Seeker page displays.
Step 2: Add Job Seeker
The following instructions include all demographic information pages that display for staff. Not all pages or questions display for all job seekers. Some states may display additional questions or pages. Explanations and screenshots for each page can be found by clicking the linked page name.
- Create Staff-Assisted Job Seeker The first page for creating a job seeker account provides key information about the user, including their SSN and date of birth, their account login information, their full name, and their contact information.
- Ask the job seeker to create a username and password and to select a security question and answer. The job seeker can use this information to log in for self-directed job search activity.
- Review the Privacy Policy with the job seeker. After they have reviewed the content, select Submit.
- Privacy Policy and Terms of Agreement Review the Terms of Agreement with the job seeker.
- If the job seeker does not accept the Terms of Agreement, do not continue the registration process. Review the Authorization for Release of Information section with the job seeker. Encourage the job seeker to agree to share their information with partner agencies so that they can benefit most fully from services.
- Ask the job seeker to enter their username and password (requirement varies by state), and select Continue.
- Registration Information The first page of the demographics flow records key information about the job seeker, which provides important reporting information about who is using the system. Some questions contribute to determining program eligibility, such as disability and education status. This page also triggers veteran information, which determines which case managers can assist the job seeker (i.e., only DVOPs can assist veterans).
- Veteran Service Status and Details The answers to "Have you served on active duty with the armed forces of the United States?" and "Are you the spouse of an active duty service member or veteran (living or deceased)?" determine which page displays next. The answers to the Veteran Service Status, Veteran Service Details, and/or Veteran Spouse Details determine the job seeker's veteran or covered person status in the system.
- Served on active duty = Yes: The Veteran Service Status page displays.
- The veteran's service start and end dates and their character of discharge determine the questions that display on the Veteran Service Details page.
- Served on active duty = No and Spouse of service member = Yes: The Veteran Spouse Details page displays.
- If you are both a veteran and the spouse of a veteran, you will be directed to the Veteran questions first, followed by one Veteran Spouse question.
- Served on active duty = Yes: The Veteran Service Status page displays.
- Veteran Spouse Information: All job seekers will see at least one question on the Veteran Spouse Information page.
- Farmworker Status Determine if the job seeker has participated in farmwork or food processing, or is the dependent of someone who has. If yes, an additional page displays (Farmworker Details).
- Employment Status The answers to the employment questions assist in determining whether the job seeker is eligible for WIOA Dislocated Worker services, as well as their status as long-term unemployed or underemployed.
- Unemployment Insurance Status The answer to the UI status question does not determine eligibility for UI, but rather records whether the job seeker has applied for, is receiving, or has run out of UI benefits.
- Selective Service Status Compliance with selective service requirements assists in determining program eligibility. The Selective Service page displays for all users who are over 18 and born on or after January 1, 1960, regardless of their identified gender on the Registration Information page.
- Eligibility to Work in the U.S. For some program eligibility, the job seeker must be a U.S. citizen or non-citizen eligible to work in the U.S.
- Dislocated Worker All job seekers see the Dislocated Worker Status page, but the options that display depend on how previous questions have been answered, particularly the employment status. Depending on the response to the Dislocated Worker Status question (any selection but "None of the above"), the Dislocated Worker Details page displays.
- If the state has an active Statewide 15% program, an additional page may display, based on how Dislocated Worker questions are answered.
- Reemployment Trade Adjustment Assistance If the job seeker is provisionally eligible for R/ATAA (50+ years old with a valid petition number), the R/ATAA page displays.
- Misc This page identifies the job seeker's program eligibility date, their county of residence, and the county of service.
- Low Income For some program eligibility, information about the job seeker's income is required.
- Income Totals: Following collection of the Low Income data, the Income Totals page displays. This page is display-only based on calculations from the Income Amounts page.
- Low Income Information: Information is gathered on the job seeker's income assistance. Additional questions display for youth.
- Public Assistance Follow-up questions based on answers to the low income information display.
- Needs and Barriers Questions regarding any potential barriers to succeeding in employment or training display. Additional questions display for youth. Answers to these questions contribute to determining program eligibility.
- Work Wanted Identify a career the job seeker is interested in pursuing. Work Wanted is required to determine eligibility for Labor Exchange (Job Service).
- My Personal Information: Following Work Wanted, an overview page displays, showing all information entered for demographics. The title of each section is a link that allows you to edit the corresponding section.
- Following review of the demographic information, click the Return to Case Details button. The Case Details page displays.
Step 3: Add Enrollment
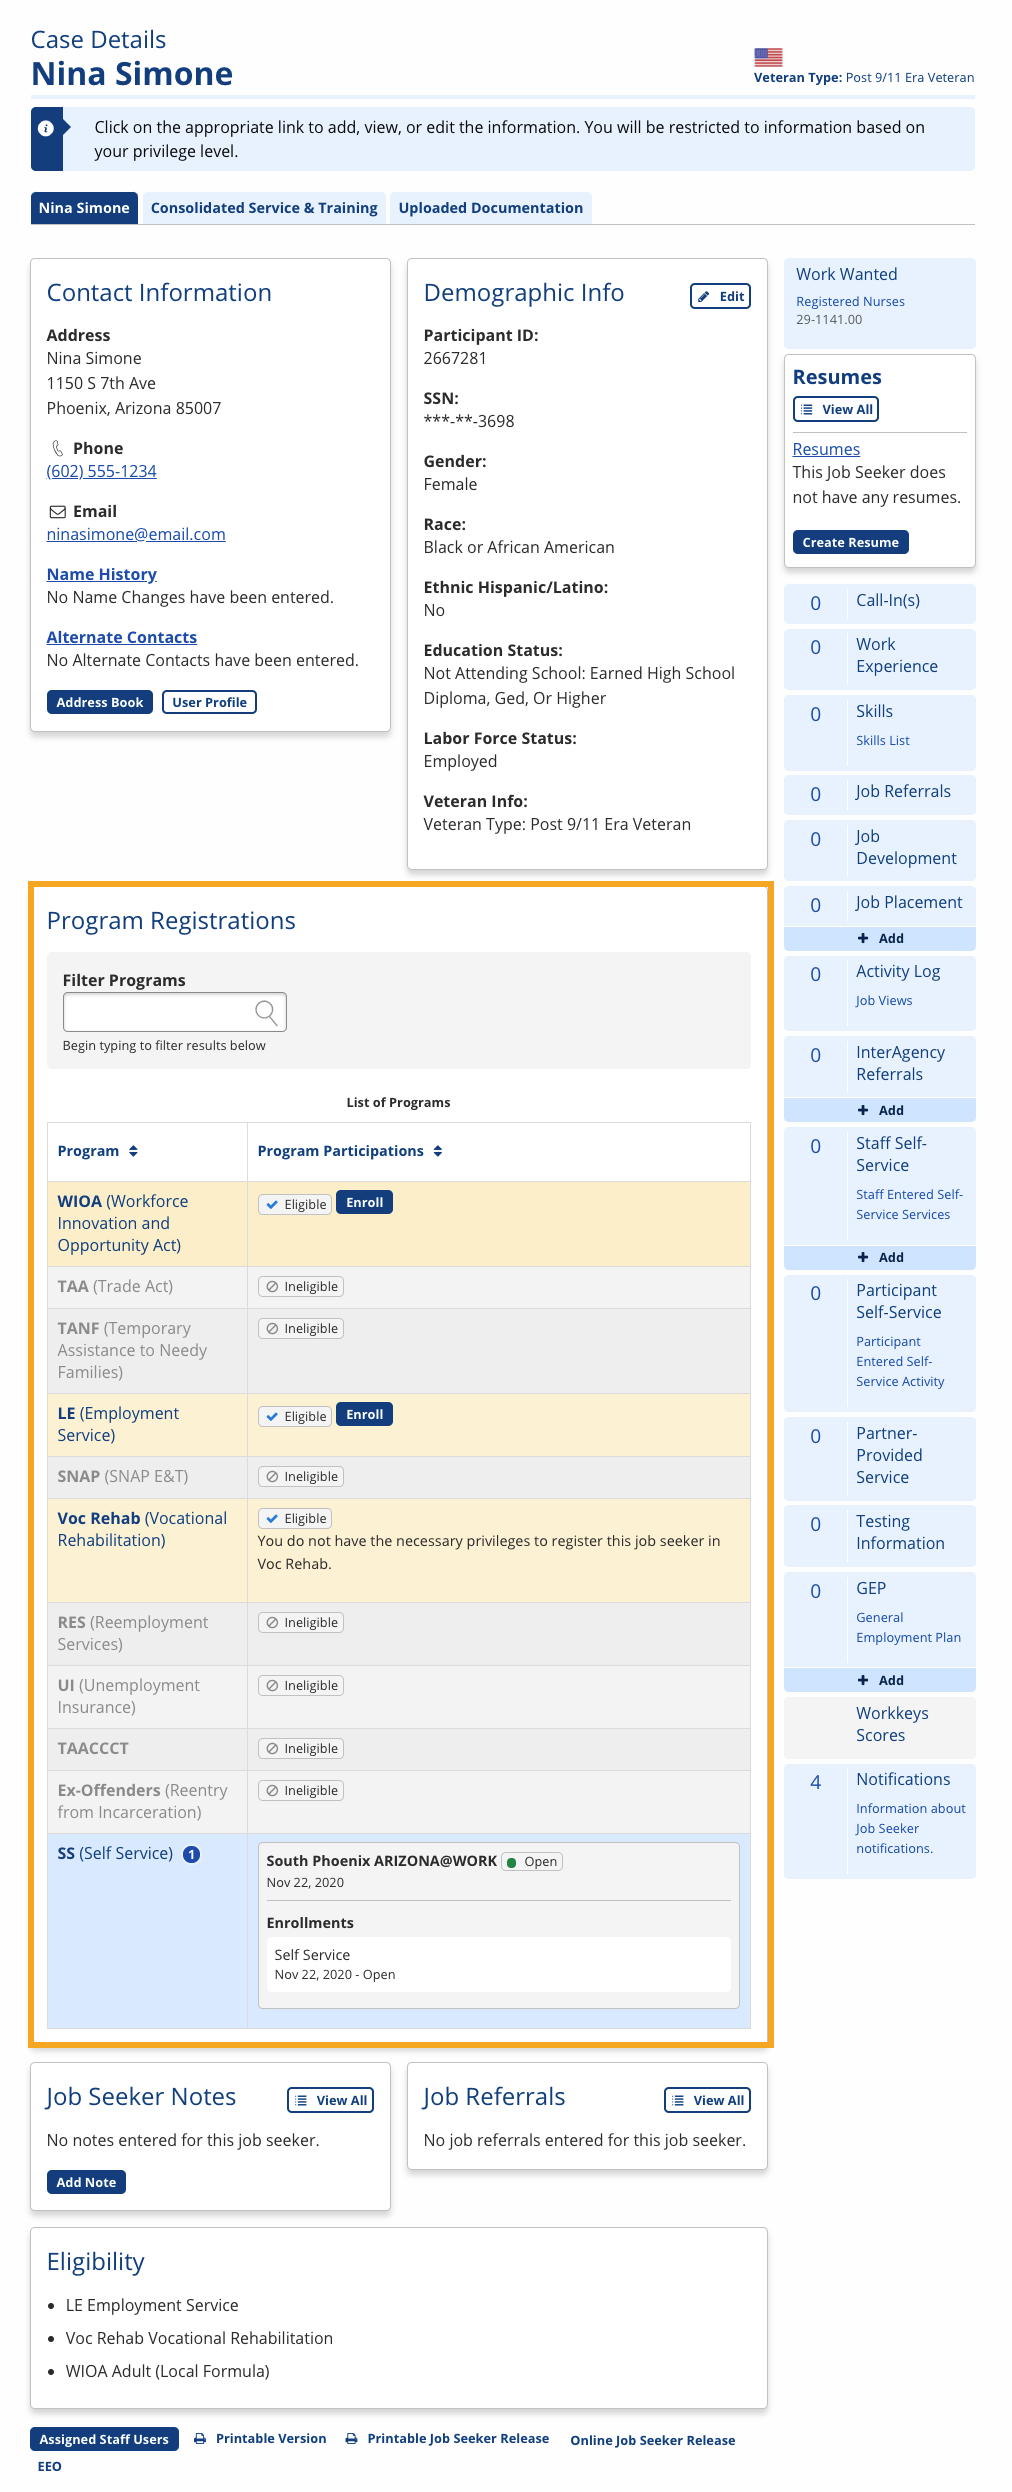
The following instructions describe the basic steps for opening an enrollment. The system assesses eligibility based on the demographic information entered. Programs for which the job seeker is eligible display in yellow with an Eligible tag in the Program Registrations section of Case Details. An Enroll button displays next to programs for which you have the privileges to create enrollments. Detailed information about reviewing eligibility and opening enrollments can be found in the Eligibility and Enrollment Details sections.
- Navigate to the Case Details page. Review the Program Registrations section.

- Select Enroll for the enrollment you wish to open. The job seeker's My Personal Information page displays.
- Review the job seeker's demographic information to ensure that all information is complete and accurate. If any information needs to be updated, select Edit Information at the bottom of the page.
- If the information is correct, select the method of attestation in the Demographic Information Verification section (attestation is not required for Labor Exchange enrollments). Select Submit. The EEO Statement displays.
- Review the EEO information with the job seeker to ensure they are aware of their rights and responsibilities. Select Agree. The Add [Enrollment Name] page displays.
- If the job seeker is eligible for more than one enrollment for the selected program registration, an interim page displays with links for the enrollment for which the job seeker is eligible. Select the appropriate enrollment.
- Example: Job seeker is eligible for WIOA Adult and WIOA Dislocated Worker, but not WIOA Youth. When the WIOA program registration link is clicked, the interim page displays only the Adult and Dislocated Worker enrollment links.
- Complete the questions on the Add Enrollment page and select Enroll.
- Questions that display vary based on the enrollment, your state, and the job seeker's disability status. If a question has been answered on another enrollment, the answer will auto-populate.
Step 4: Add Enrollment-Specific Services
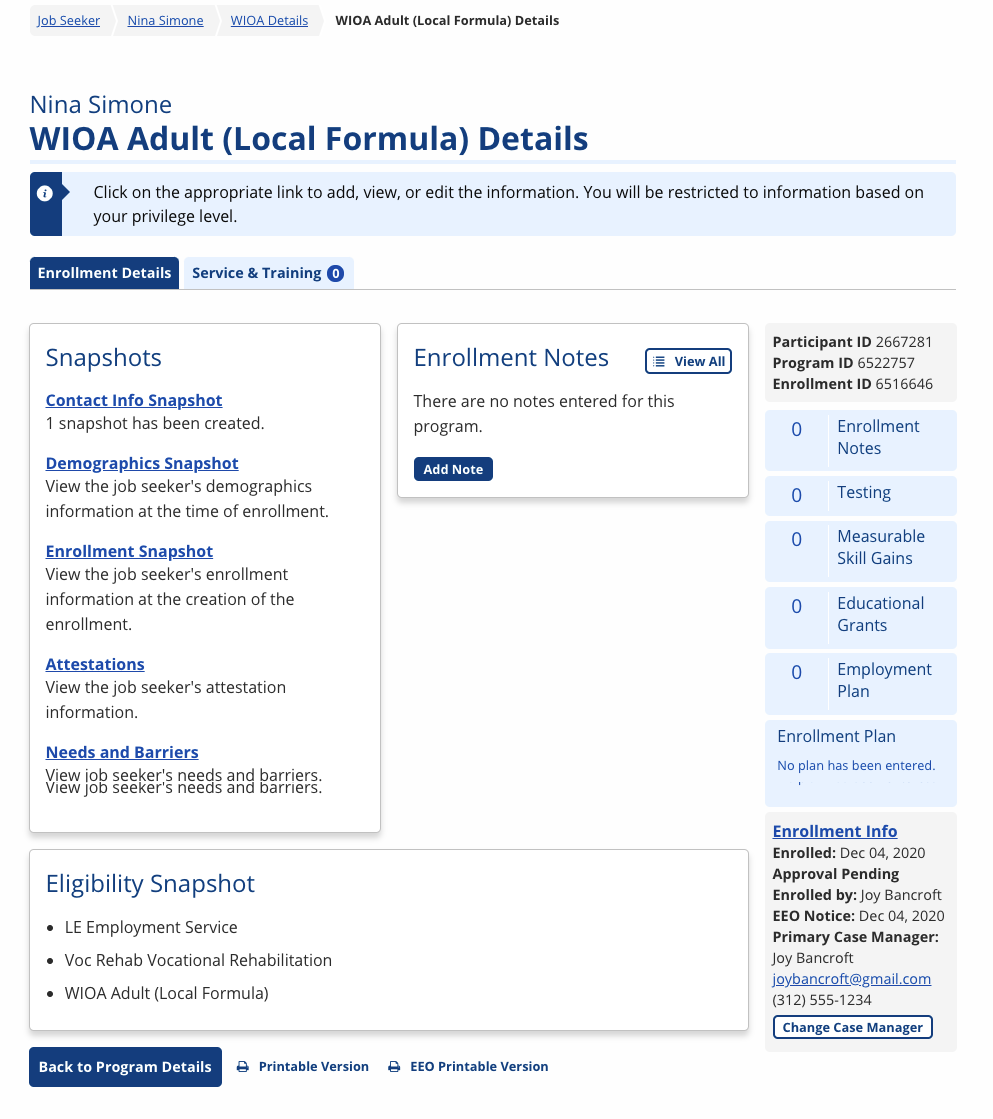
The following instructions describe how to enter services for an enrollment. Each state determines which enrollments require administrative approval. If approval is required, the enrollment displays in a pending queue for review by authorized users. Services can be added at the time the enrollment is added, regardless of approval status. States who use FiscalLink cannot add budgets or payments until the enrollment is approved. The job seeker is not a participant until a service that sets participation is added, with an actual start date, and the enrollment is approved (if approval is required).
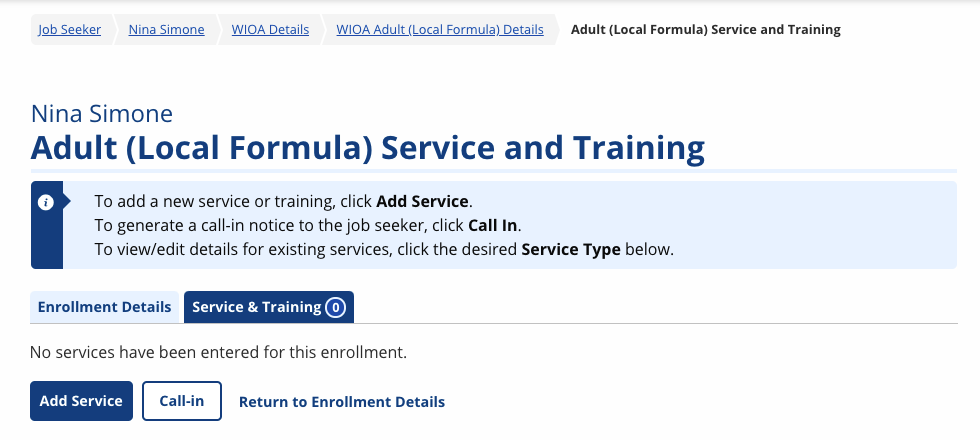
- Navigate to the Enrollment Details page, and select the Service and Training Plan tab.


- This page may include two options for adding services: Services Quick Entry and Add Service.
- Services Quick Entry is set by states, by enrollment, to display or not. Services Quick Entry is typically set to display only for LE and WPRS enrollments.
- To add one or more completed services, select Services Quick Entry.
- To add a single service in any status, select Add Service.
- Add the service details and select Save.
- Don't see the service you want to add? Different services display in the Service Type drop-down for different enrollments, although many may be common across enrollments. For example, the Waiver service typically displays only for TAA enrollments. Services are established by each state using the Services Admin function. If you have any questions about services, contact your supervisor.